Getting Started
WooAI Chatbot Pro is an AI sales assistant for your WooCommerce store. Here’s how to install the plugin and get the chatbot running on your storefront.
You need administrator access to your WordPress site, a working WooCommerce store with products, and about 30 minutes. Keep your license key handy; it came with your purchase.
System Requirements
| Requirement | Minimum | Recommended | Status |
|---|---|---|---|
| WordPress Version | 6.2+ | 6.6+ | Required |
| WooCommerce Version | 8.0+ | 9.0+ | Required |
| PHP Version | 8.1+ | 8.2+ | Required |
| PHP Memory Limit | 128MB | 256MB+ | Recommended |
| SSL Certificate | – | Active | Recommended |
What Else You Will Need
Two external accounts, both free to start:
- An AI provider key. We use Google Gemini as the default. OpenAI and Anthropic Claude work too.
- A Supabase project. This is the vector database that lets the bot search your real catalogue. The RAG & Search guide walks through it.
Installation
WooAI Chatbot Pro extends WooCommerce. Make sure WooCommerce is installed and activated before you continue, otherwise activation will fail.
Go to Plugins → Add New → Upload Plugin, click “Choose File”, select woo-ai-chatbot-pro.zip, then click “Install Now”.
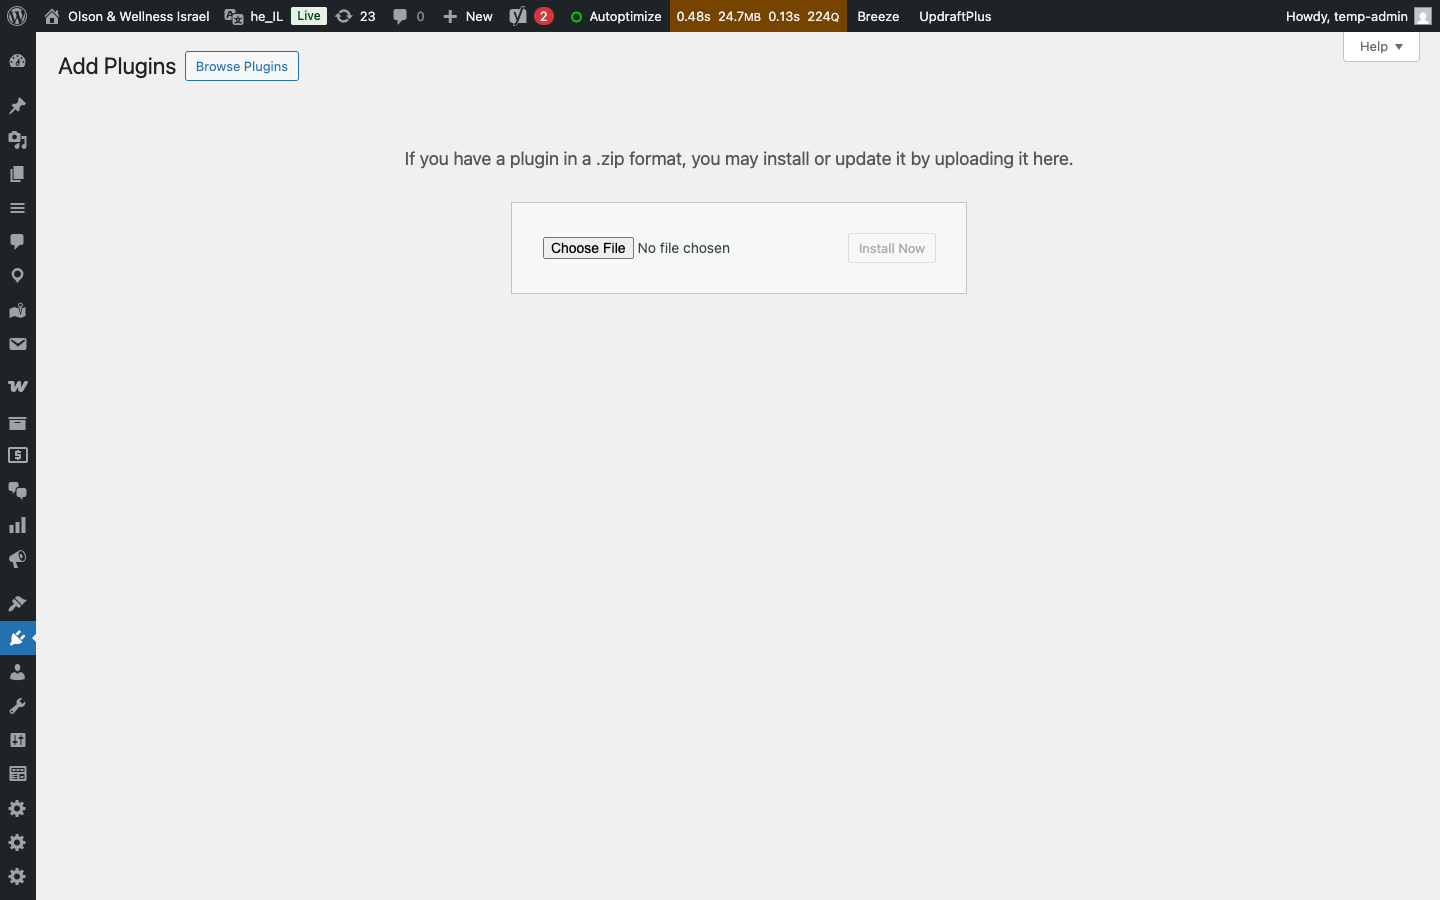
Click Activate Plugin when the upload finishes.
You’ll see AI Chatbot in the WordPress admin sidebar. Open it to reach the Dashboard.
Usually one of two things: WooCommerce is not active, or PHP is older than 8.1. Check both, then try again.
Activating Your License
The license unlocks updates and support.
Go to AI Chatbot → License & Updates.
Paste the key you received with your purchase and click Activate License.
A green License Active badge appears, together with the domain the license is registered to, the plan and the expiry date.
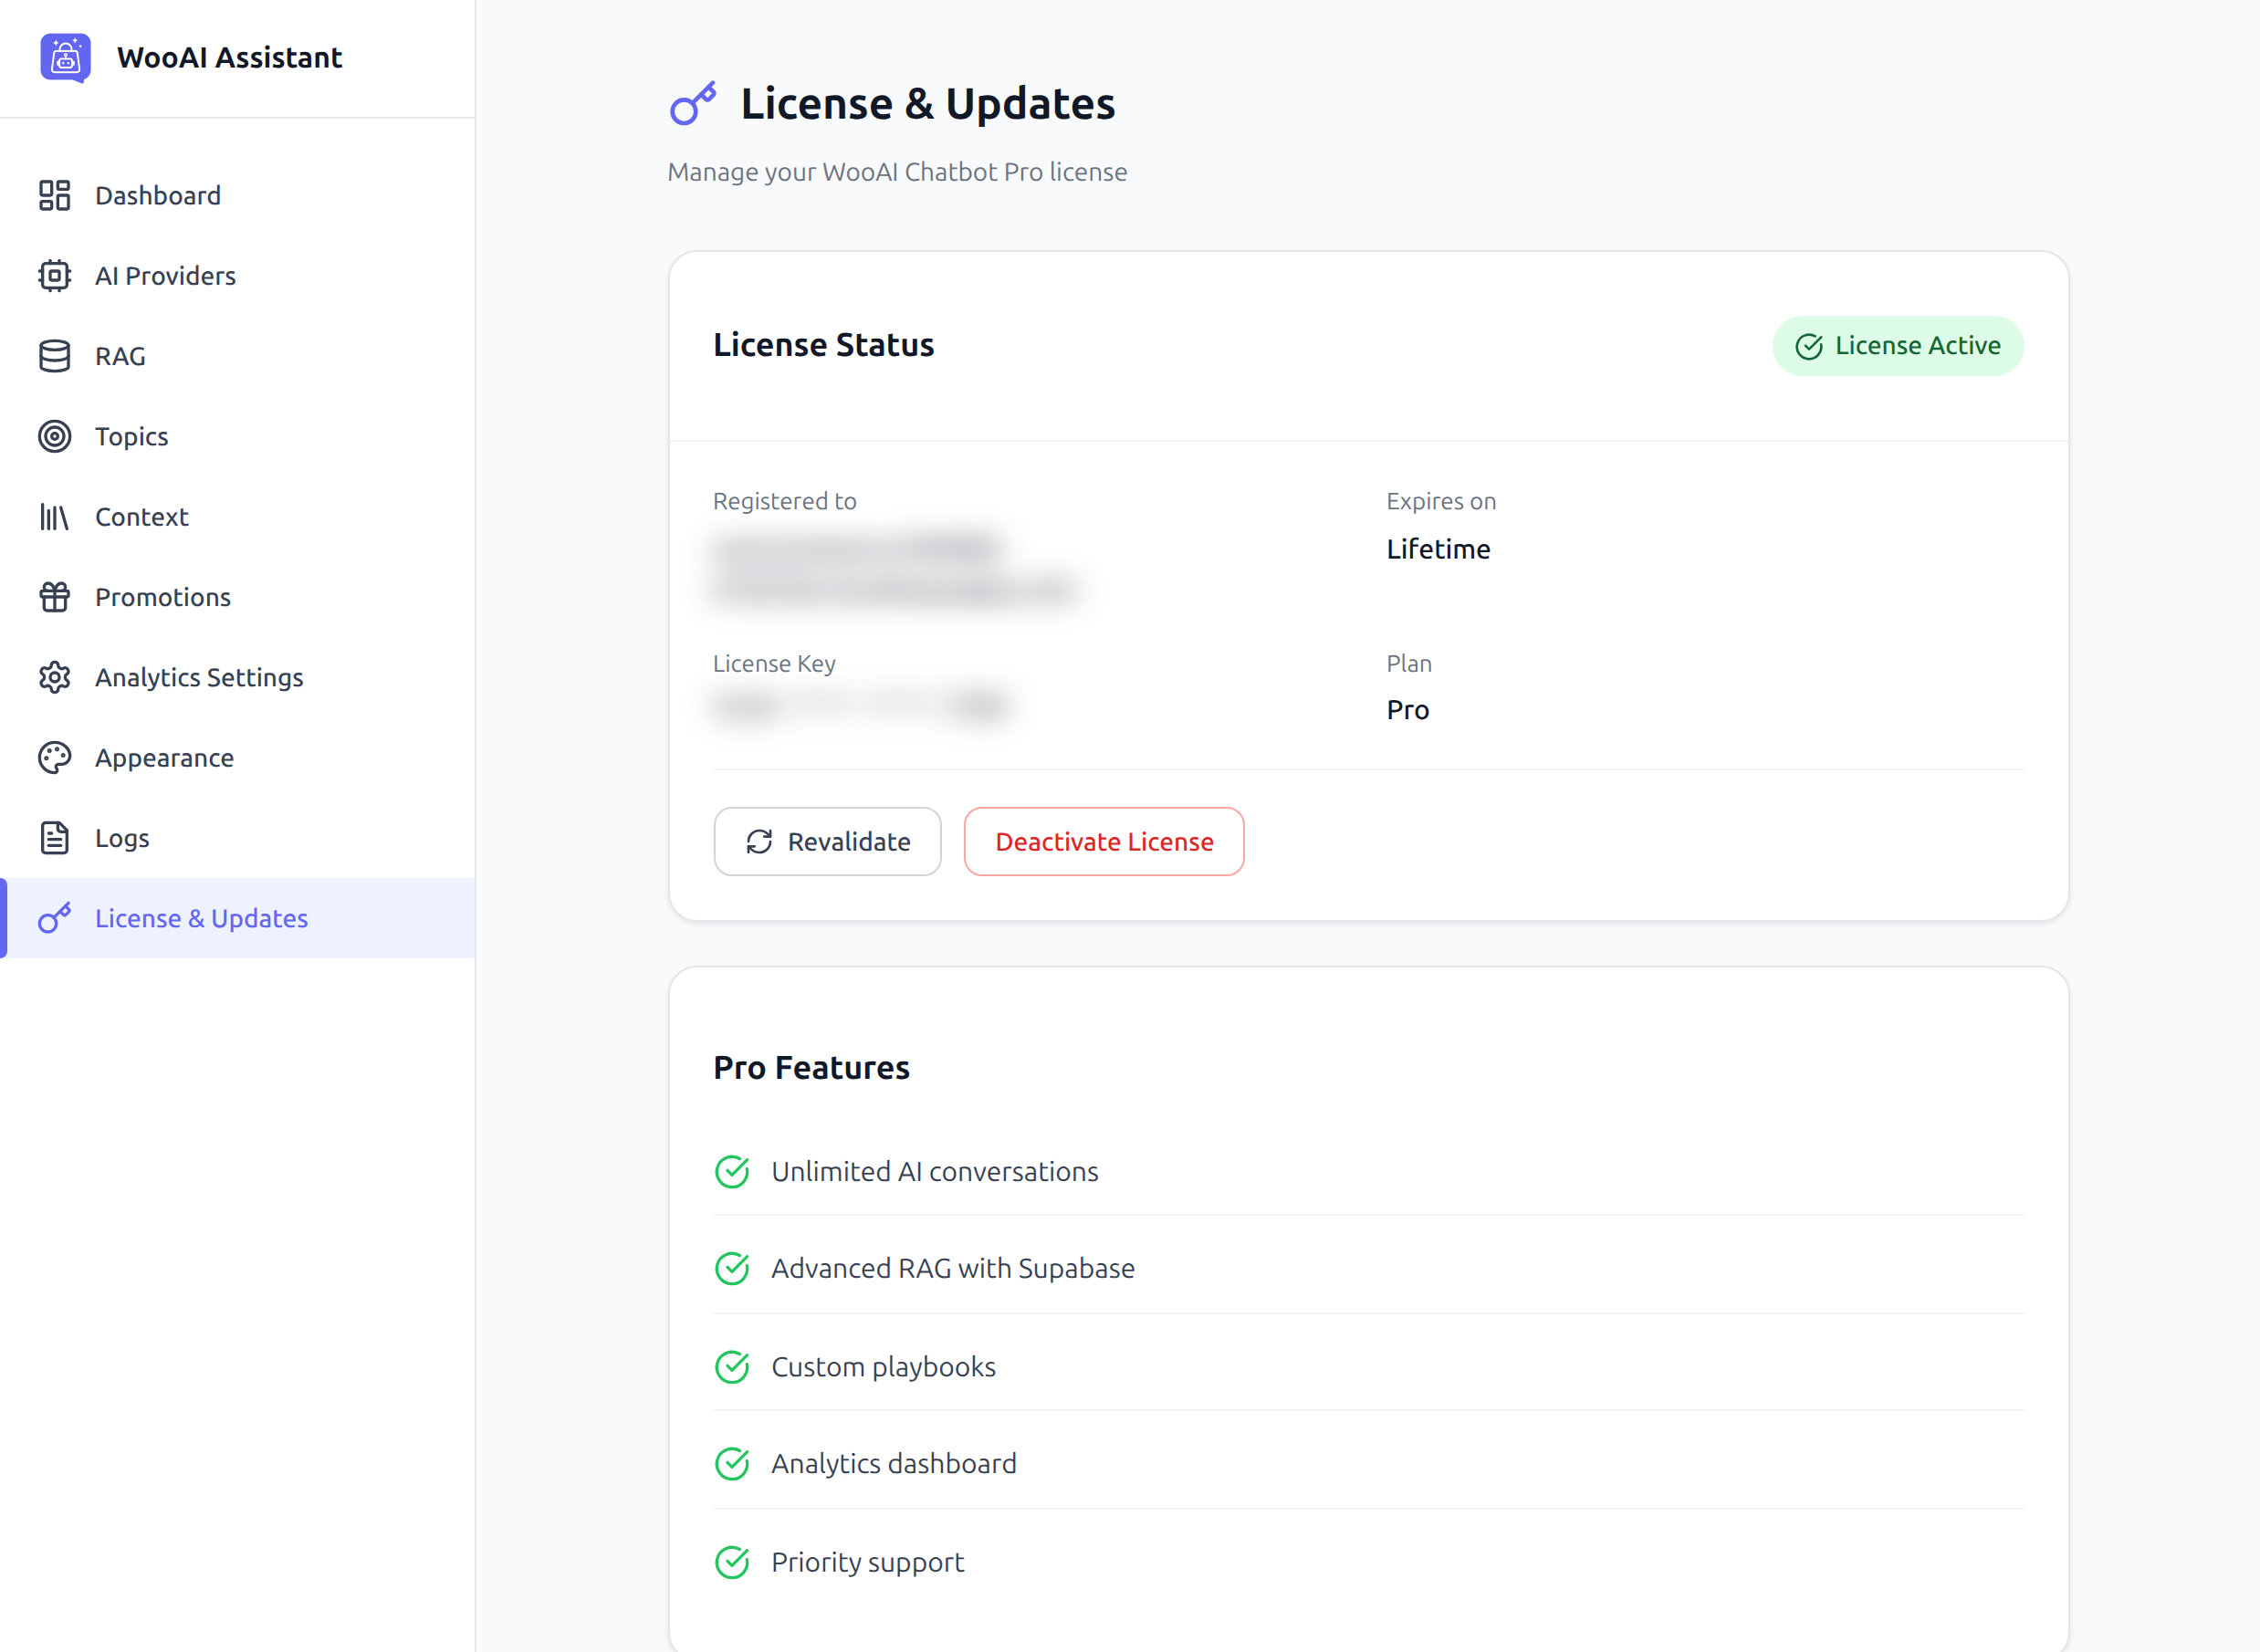
If you ever move the site to another domain, open this screen, click Deactivate License on the old domain and activate it again on the new one. Revalidate forces a fresh check without deactivating.
Getting Around the Admin
Everything lives under the AI Chatbot menu:
| Screen | What it is for |
|---|---|
| Dashboard | Conversations, messages, cart and conversion metrics |
| AI Providers | API keys, models, fallback provider, custom rules |
| RAG & Search | Supabase connection, content and product indexing, search tuning |
| Topics | The suggested topic chips shown in the chat window |
| Context | Extra knowledge you give the bot about your business |
| Promotions | Offers the bot is allowed to mention |
| License | License status and updates |
| Analytics Settings | What the analytics layer records |
| Appearance | Colours, position, welcome message, widget behaviour |
| Logs | Diagnostic log for troubleshooting |
First Run
Three steps, in this order.
Go to AI Chatbot → AI Providers, paste your API key and pick a model. Use the Test button next to the key to confirm it works. Full walkthrough: AI Providers.
Without this the bot can still chat, but it cannot answer questions about your actual products, prices or stock. This is the longest step. Follow RAG & Search from start to finish.
Adjust colours, position and welcome message under Appearance, then open your storefront in a normal browser tab and ask the bot about a product you know exists.
Ask the bot about a real product. If the name, price and stock status are all correct, the install works. After that, Topics, Context and Promotions are where you make it sound like your store.